
Adding Endpoints
When setting up a webhook to listen to events, you need to specify an endpoint because the endpoint is the specific URL where the webhook will send its HTTP POST requests containing event data.
The endpoint acts as a destination or receiver for the data. It's where the server receiving the webhook data is located and where the webhook service knows to send the information. By providing an endpoint URL, you're essentially telling the webhook service where to deliver the data related to the events it's monitoring.
This endpoint URL could be a route on your server or application that's designed to handle incoming HTTP requests and process the event data sent by the webhook. The endpoint needs to be configured to accept and interpret the incoming data correctly, allowing your system to react to the received events appropriately.
So to get started listening to events on the Trackunit Iris Platform, all you have to do is configure your endpoints. Adding an endpoint is as simple as providing a URL that you control and a list of event types that you want to listen to.
Available to administratorsOnly admin users can access and add endpoints through the webhooks section
Basic Steps
Follow these basic steps to add a new webhook endpoint.
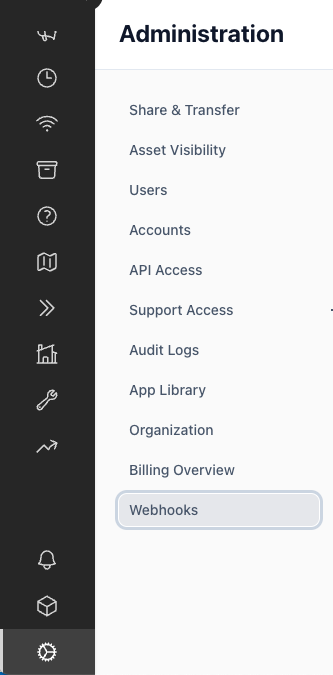
Find the "Webhooks" page under Administration → Webhooks in the Trackunit Manager.
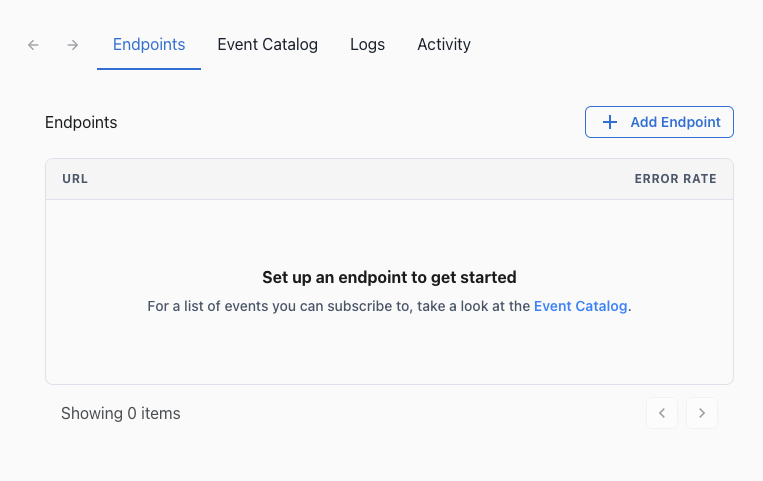
Create a new endpoint by clicking "Add endpoint"
Enter the URL for your callback endpoint and specify the events you want to subscribe to. If no filters are added, all events will be sent to the endpoint.
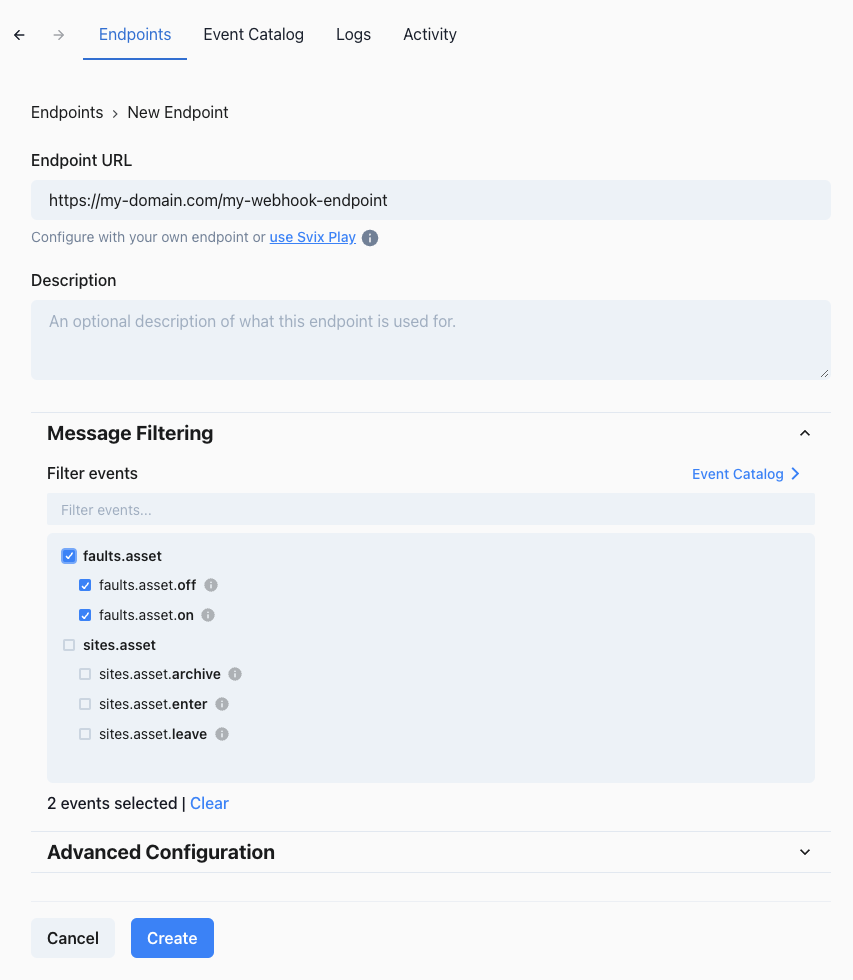
The final step is to click "Create", and then you've successfully set up your first webhook subscription.
Updated 6 months ago